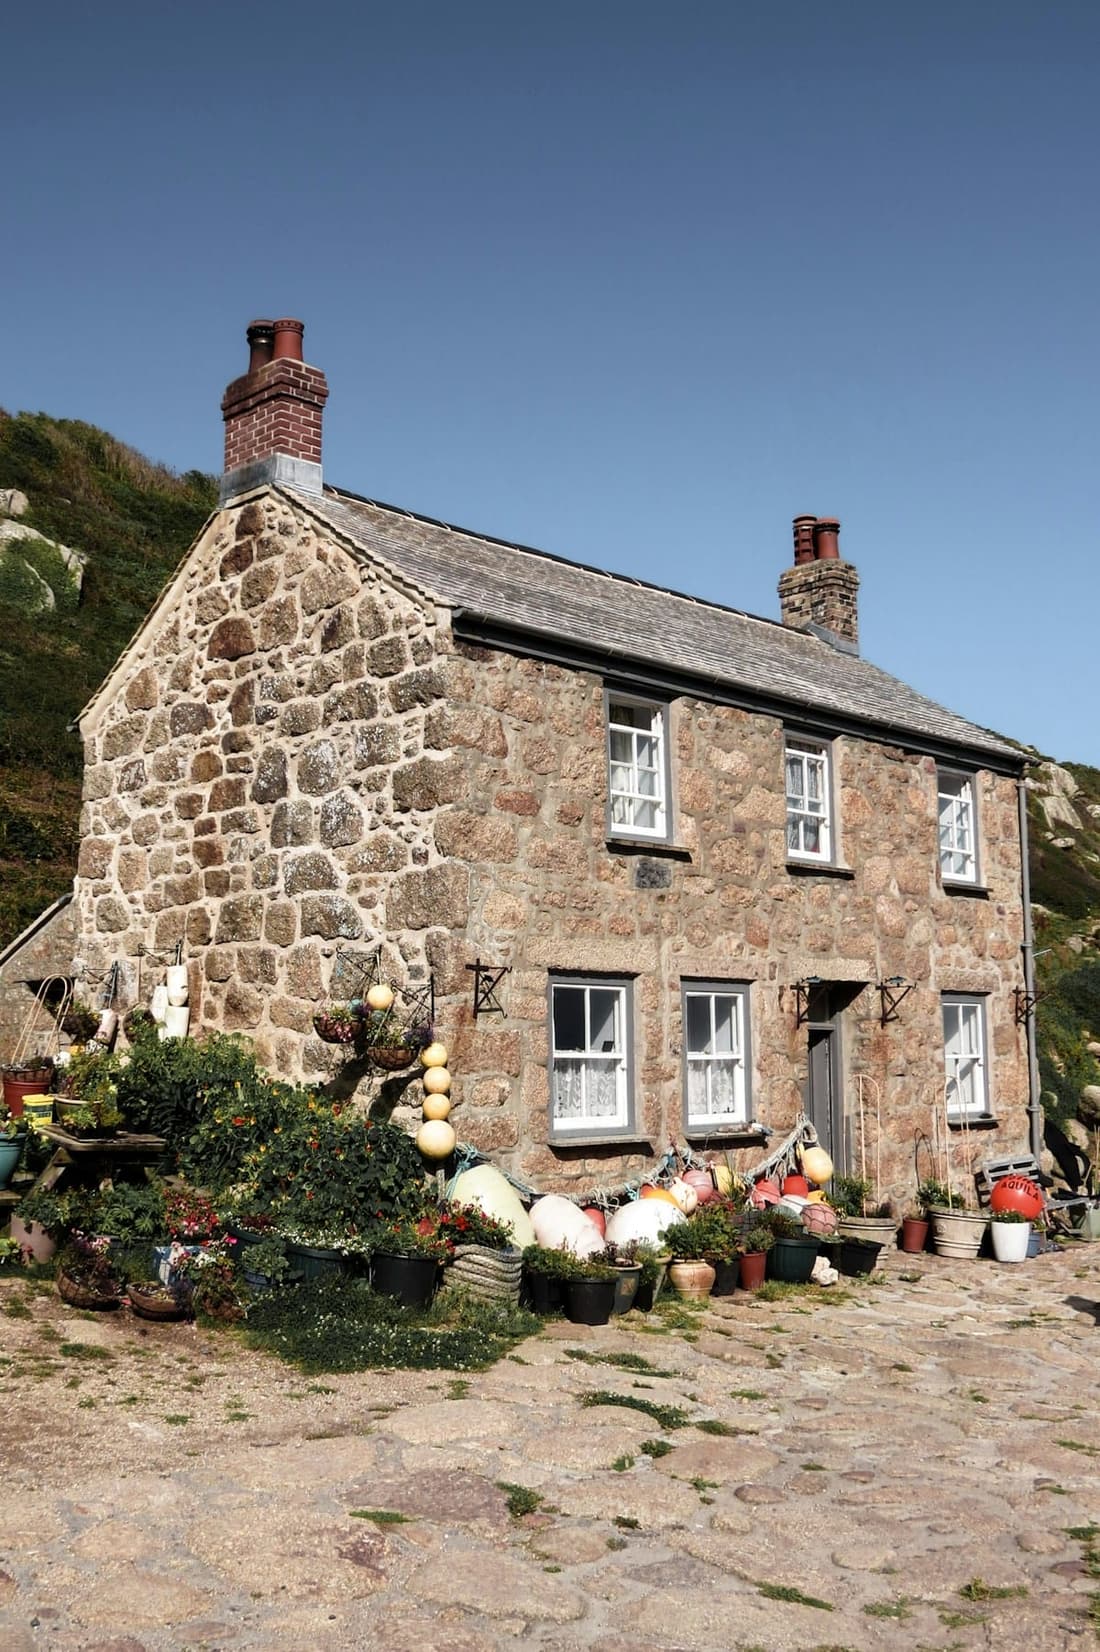
What you'll need
Materials
- Natural Hydraulic Lime (NHL 3.5): Standard for most UK applications. Use NHL 5 for highly exposed locations or below DPC.
- Sharp sand: Washed, graded sharp sand (not building sand). Grain size 0-5mm or 0-3mm.
- Water: Clean mains water. Avoid water with high sulfate content.
- Hair or fibre (optional): Goat hair or polypropylene fibres for the scratch coat reduce cracking on weak substrates.
Tools
- Steel trowels (for application)
- Wood float (for float coat and some finish textures)
- Sponge float (for textured finish)
- Devil float or comb (for scratching first coat)
- Hawk
- Mixer (forced-action mixer preferred, not cement mixer)
- Buckets for measuring
- Spray bottle or hose for dampening walls
- Hessian or breathable sheeting for protection
- Total render thickness
- 25-30mm (three coats combined)
- Scratch coat thickness
- 10-12mm
- Float coat thickness
- 8-10mm
- Finish coat thickness
- 5-8mm
- Minimum total curing time
- 14-21 days (before full cure over 3-6 months)
- Standard mix ratio
- 1:2.5 to 1:3 (NHL 3.5 : sharp sand by volume)
Step 1: Prepare the wall surface
Wall preparation determines bond strength. Remove all loose material, organic growth, old failing render, and paint. Use a wire brush or, for stubborn coatings, mechanical methods like scabbling or needle guns. Avoid high-pressure water jetting on soft brick, it erodes mortar joints.
Rake out mortar joints to a depth of 15-20mm. This provides a mechanical key for the render. Repair any damaged masonry (spalled bricks, eroded stone) before rendering. Fill deep holes or voids with the same lime mortar mix you'll use for the scratch coat.
The evening before application, thoroughly dampen the wall with clean water. Use a brush or fine spray. This prevents the wall from sucking moisture out of the render too quickly. The wall should be damp to the touch but not saturated when you apply the first coat.
Step 2: Mix the scratch coat
The scratch coat (also called the first coat or dubbing coat) keys into the substrate and provides a base for subsequent coats. Mix 1 part NHL 3.5 to 3 parts sharp sand by volume. Some specifiers use 1:2.5 for harder substrates or exposed locations.
Add water gradually. The mix should be stiff, holding its shape when squeezed but not so wet that it slumps off the trowel. Lime mortar workability improves with mixing time. Mix for at least 5 minutes in a forced-action mixer. A wetter mix flows onto the wall more easily but has less strength and higher shrinkage.
For weak or friable substrates (soft stone, cob, deteriorated brick), add 5-10 kg/m³ of goat hair or polypropylene fibres to the scratch coat. Fibres reduce shrinkage cracking and improve cohesion.
Step 3: Apply the scratch coat
One hour before application, dampen the wall again using a brush or spray. The wall should be damp but not dripping. Load mortar onto a hawk, take a small amount on the trowel, and press it firmly onto the wall with upward strokes. Work from bottom to top.
Apply the scratch coat 10-12mm thick. Push hard to force the mortar into joints and surface texture. This coat doesn't need to be perfectly flat, its job is bonding and providing key for the next coat.
While the render is still soft (within 2-4 hours depending on weather), scratch horizontal lines across the entire surface using a devil float, comb, or nail board. These grooves provide mechanical key for the float coat. Scratch depth should be about 5mm.
Step 4: Cure the scratch coat
Leave the scratch coat to cure for a minimum of 5-7 days before applying the second coat. Lime render cures by carbonation (reacting with atmospheric CO2), not just by drying.1 Slower curing produces stronger, more durable render.
Protect the fresh render from frost for the first 48 hours using hessian, straw, or breathable plastic sheeting. Do not use impermeable plastic, it traps moisture and prevents carbonation.
In hot, dry, or windy weather, mist the render with water once or twice daily for the first 3 days. This prevents the surface drying too fast, which causes weak curing and dusting. The render should feel firm to the touch before you apply the next coat.
Step 5: Apply the float coat
The float coat (second coat) builds thickness and provides a level surface for the finish. Mix 1:2.5 or 1:3 (NHL 3.5:sharp sand). Some specifiers use a slightly richer mix (1:2.5) for the float coat than the scratch coat.
Dampen the scratch coat surface one hour before application. Apply the float coat 8-10mm thick using a steel trowel to key it in, then level it with a wood float. The wood float produces a flatter, more uniform surface than steel.
Work the surface to close any shrinkage cracks from the scratch coat. The float coat should bring the total thickness to about 20mm. Do not apply excessively thick coats, they increase slump risk and cracking.
Step 6: Cure the float coat
Leave the float coat to cure for 7-14 days minimum. Longer curing produces better strength. The surface should be hard to the touch before the finish coat. Protect from frost and extreme heat as with the scratch coat.
Mist daily in hot weather. Lime render benefits from slow, even curing. Full carbonation takes 3-6 months, during which the render gradually hardens and gains strength.
Step 7: Apply the finish coat
The finish coat (third coat or setting coat) provides the final surface texture and appearance. Mix 1:2.5 or 1:3 depending on exposure. For very sheltered locations or internal work, 1:3 is fine. For exposed coastal or upland sites, use 1:2.5 or add 10% pozzolan (brick dust or metakaolin) to improve weather resistance.
Dampen the float coat. Apply the finish coat 5-8mm thick. Total system thickness should be 25-30mm. Thicker systems provide more thermal mass and weather protection but take longer to cure.
Finish texture depends on specification and aesthetic preference:
- Smooth trowel finish: Use a steel trowel, work in circular motions, polish when starting to set.
- Textured sponge finish: Use a sponge float in circular motions when the surface has firmed slightly.
- Roughcast (wet dash): Throw a slurry mix (1:2 lime:sand, very wet) onto the finish coat using a dash trowel or scoop.
- Dry dash (pebbledash): Throw dry aggregate (pea gravel, crushed stone) onto the wet finish coat, press in lightly with a float.
Step 8: Final curing and protection
Protect the finish coat from frost for 48 hours. Avoid rain for the first 24 hours if possible. Light rain after initial set is not harmful, lime render is porous. Heavy rain can wash out the surface before it firms.
Mist daily for the first week in dry weather. The render will continue to harden over 3-6 months. Avoid applying paint or water-repellent coatings for at least 6 months. Lime render needs to breathe during carbonation.
Common mistakes to avoid
Applying coats too quickly
Each coat needs time to cure before the next is applied. Rushing the process produces weak render that de-bonds or cracks. Minimum 5 days between scratch and float, 7 days between float and finish.
Using building sand instead of sharp sand
Building sand is too fine and rounded. It produces weak, high-shrinkage render. Always use washed sharp sand with angular grains.
Working in unsuitable weather
Do not apply lime render below 5°C or above 30°C. Frost damages fresh render irreversibly. Extreme heat causes rapid surface drying and weak curing.
Not dampening the substrate
Dry walls suck moisture out of fresh render, causing poor bonding and surface cracking. Always dampen the wall the evening before and one hour before application.
Making the mix too wet
Wet mixes flow easily but shrink more and have lower strength. The mix should be stiff, just workable. Add water gradually during mixing.
When to call a specialist
Lime rendering is a skilled trade. For listed buildings, conservation areas, or buildings of architectural or historic interest, use a contractor experienced in traditional lime work. The Building Conservation Directory and the Society for the Protection of Ancient Buildings (SPAB)3 maintain lists of approved contractors.
Poor-quality lime render causes more damage than no render. If you're uncertain about substrate condition, mix ratios, or application technique, seek advice from a conservation officer or lime specialist before starting work.
Related guides
- Lime render: complete guide for heritage buildings
- Lime mortar mix ratios for different applications
- Lime rendering technique and best practice
- Cement render vs lime render: when to use each
Sources
- Historic England (2012). Practical Building Conservation: Mortars, Renders and Plasters. ISBN 978-0-7546-4016-3. Accessed 1 June 2026.
- Building Research Establishment (2015). External Lime Coatings on Traditional Buildings. BRE Good Building Guide 20. Accessed 1 June 2026.
- Society for the Protection of Ancient Buildings (2024). SPAB Technical Q&A 15: Lime Renders. https://www.spab.org.uk/. Accessed 1 June 2026.
- Scottish Lime Centre Trust (2023). Lime Rendering Guidance Notes. https://www.scotlime.org/. Accessed 1 June 2026.
- BS EN 459-1:2015. Building lime. Definitions, specifications and conformity criteria. British Standards Institution. Accessed 1 June 2026.
- Building Conservation (2024). Lime Render and Lime Mortar Application. https://buildingconservation.com/. Accessed 1 June 2026.